Adding Images to the Program
Before you start editing and converting your images you need to import them from your computer hard disk drive or from social network services, such as Facebook, Flickr, or Google+, into AVS Image Converter program. To do it refer to the Preview Area.
-
Add files from your computer HDD
Click the Add button on the Toolbar to add some image files stored on your computer hard disk. Or click with the mouse within the Preview Area. To import a folder with image files you need to convert click the arrow next to the Add button and select the Add Folder option.
The following window will let you select the images you need:
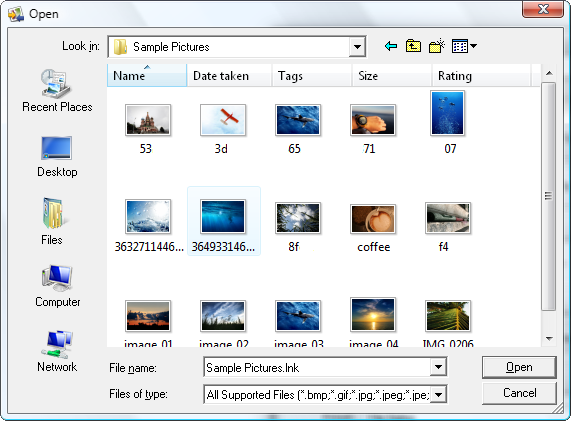
Select the necessary files and click the Open button.
You can also drag and drop the necessary files/folder directly to the program.
-
Download albums from your Facebook, Flickr, or Google+ account
To add images from social network services, such as Facebook, Flickr, or Google+, click the black arrow near the Add button and select the corresponding option.
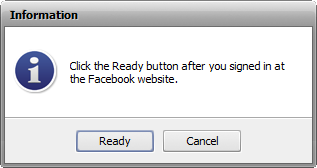
When using these features for the first time, you will need to enter your login and password to sign in to your account, after that you'll be asked to authorize the AVS Image Converter application so that it can access your photos.
Return to the AVS Image Converter interface and click the Ready button.
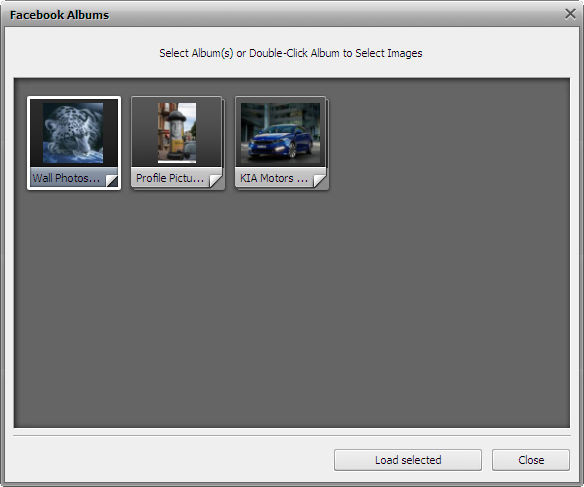
The Facebook/Flickr/Google+ Albums window will open. To add the whole album to the program, just select the necessary one with the mouse. If you need to add some photos only, double-click the album you wish to download the photos from and select the photos you need. Then click the Load selected button.

Note: to clear current settings that are required to access your account go to the Main Menu, open the File section and select the Reset account settings option. After that you will be able to specify these settings once again or differently.
The loading progress bar will be displayed within the Preview Area. You can always cancel this process using the appropriate button near the progress bar.
All the selected image files will be added to the Preview Area. Within this area you can manage your loaded files:
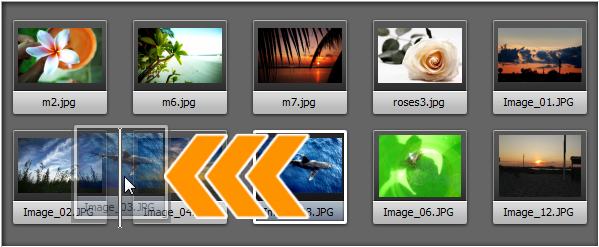
To set the necessary image file order click the image whose place you would like to change with the left mouse button and then without releasing the mouse button move the image to a desired position.
If the Thumbnails mode of the Preview Area is activated you can perform this task within the Preview window:
If the Preview mode is activated use the Navigation Panel below the Preview window.

To delete an image select the unnecessary ones with the mouse and click the Remove button of the Toolbar or use the Remove All option to delete all the files loaded to the program.
To rotate pictures click the file you need to rotate with the left mouse button and use the corresponding button of the Toolbar or choose the appropriate option from the right-click menu. If you want to rotate all your pictures click the Rotate All button and choose one of the available options. You can rotate your images clockwise, counterclockwise or 180 degrees.
It is also possible to view the image file information right-clicking the necessary file and choosing the Show File Info entry from the menu. In the opened window the following information will be displayed:
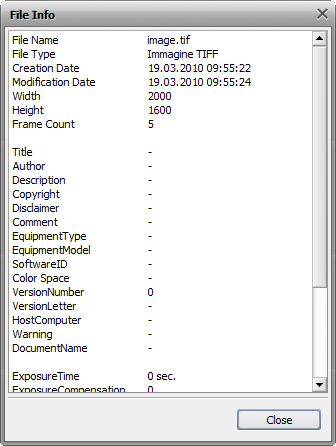
Image File
- File Name - name of the selected image file
- File Type - format of the image file
- Creation Date - date and time when the photo was shot (year:month:day hours:minutes:seconds)
- Modification Date - date and time when the photo was modified (year:month:day hours:minutes:seconds)
- Width - width of the image in pixels
- Height - height of the image in pixels
- Frame Count - number of frames in the image file
Additional Information
- Title - image name entered manually
- Author - person who took this picture
- Description - description of the image subject
- Copyright - copyright notice
- Disclaimer - statement intended to specify situations that involve some level of uncertainty, waiver, or risk
- Comment - additional information on the edited image
- Equipment Type - name of the still camera used to shoot this picture
- Equipment Model - model of the still camera used to shoot this photo
- Software ID - name of the software package used to create the image
- Color Space - color space used to create this image: sRGB (standard red/green/blue), CMYK (cyan/magenta/yellow, K stands for black), HSL (hue/saturation/lightness), etc.
- Version Number - version number of the software package used to create the image
- Version Letter - version letter of the software package used to create the image
- Host Computer - computer and/or operating system in use at the time of image creation
- Warning - warning about the image contents (available for .png image files only)
- Document Name - name of a multi-page .tiff image file
Camera Settings
- Exposure Time - time during which the film or sensor was exposed to light, given in seconds
- Exposure Compensation - feature that allows you to adjust the automatically calculated exposure (compensation can be either positive (additional exposure) or negative (reduced exposure))
- Exposure Program - class of the program used by the camera to set exposure when the picture is taken (the following programs can be used: not defined, manual, normal program, aperture priority, shutter priority, creative program, action program, portrait mode, landscape mode)
- Shutter Speed - length of time the aperture remains open for a given exposure
- Lens Aperture - opening in the camera that allows light to pass through the lens to strike the film
- Focal Length - actual focal length of the lens
- F-Number (also known as F-stop or relative aperture) - number defined as the focal length of the lens divided by the effective diameter of the aperture (a smaller F-number implies a larger diameter lens and therefore more light available for high-speed photography)
- ISO Speed - refers to the "film speed" or sensor sensitivity to light (higher ISOs mean the sensor (or film) is more sensitive to light, while lower ISOs mean the sensor will be less sensitive to light)
- Metering Mode - refers to the way how a camera determines the exposure (the following modes can be used: unknown, average, center weighted average, spot, multi-spot, pattern, partial, other)
- Flash Mode - flash mode used to produce this picture (on/ off/ auto, fired/ did not fire, red-eye reduction, retouch)
Note: all the strings are always displayed at the tab, but some of them may contain no values depending on a still camera you used, image file format and camera settings.