Deleting Scenes
AVS Video Converter allows you to delete unwanted parts of your input video file.

To delete parts of your input file:
Press the Edit button of the Main Toolbar to open the Edit Input File(s) window.
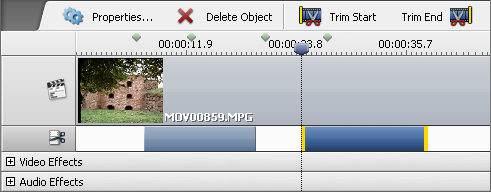
On the Timeline put the cursor at the place you want to set as deletion area start and press the Trim Start button. Then do the same to indicate the deletion area end clicking the Trim End button.
After that the selected trim area will be shown on the Timeline within the  line. If you need to delete a couple of scenes, e.g. add several trim areas, they will be situated within the same line.
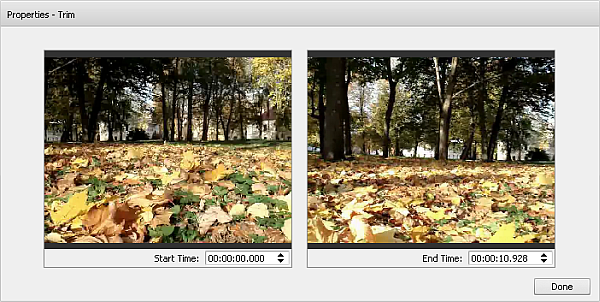
If you need to set the exact trim area it can be done using the Properties - Trim window. Click the trim area with the mouse and the Properties button afterwards. The Properties - Trim window will be opened showing the beginning and end scene of the deleted area and the exact time of the episode:

Set the time in the appropriate fields entering it from the keyboard or using the mouse. Use the preview windows to make sure the time is correct.
Click the Preview Trim Results  button within the Preview Area to play back your video without deleted parts.
Click the OK button to accept changes and close the Edit Input File(s) window.
Edit the selected profile at the Conversion Options Tab by changing output video parameters if needed.
Press Convert Now! to start conversion.
 Note
Note:
- if you changed your mind and decided not to delete a couple of scenes, you can highlight the trim area and press the Delete Object button;
- to make sure you selected the right episodes for deletion, you can play back the area by setting the cursor at the beginning of the area and clicking the Play
 button.