Printing Images
AVS Photo Editor also allows you to print the edited images. To do that open the Print Tab, select in the Navigation Panel the image you want to print and adjust the following settings:
 Printer Settings
- Printer - select a printer if you have several connected to your system.
- Copies - select a number of copies.
- Paper Format - select the format of the paper you are going to use from the list of available ones.
- Orientation - select between "book" and "album".
- Page Setup... - adjust page settings that fully depend on the printer you have selected.
 Position
- Center image - check this box to place the image in the center of the sheet.
- Top - use it to adjust the image position relative to the upper sheet edge.
- Left - use it to adjust the image position relative to the left sheet edge.
 Scaled Print Size
- Scaled to fit media - check this box to fit the image into the sheet of paper.
- Scale - set the scale in percent.
- Width - set the image width in mm.
- Height - set the image height in mm.
- Print Resolution - in this field the print resolution is displayed which fully depends on the parameters described above.
By clicking the mm link you can change the measurement unit to inch and vice versa.
To restore the defaults press the Reset Settings button.
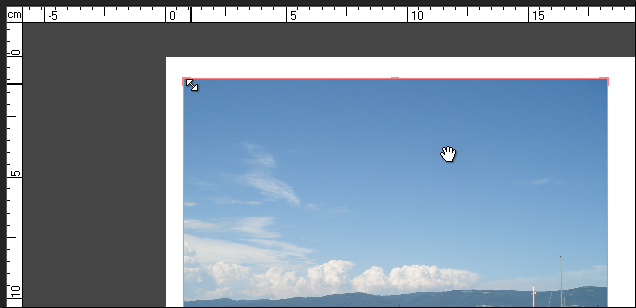
You can also use the Preview Area to adjust the position and size of the image you are going to print. Special rules with cm or inch gradation will help you do that. To change the image size direct the mouse cursor to one of the edges - the mouse cursor turns to an arrow - and drag it to the left or right altering the image width or height. To change the image position direct the mouse cursor to the center of the image - the mouse cursor turns to a hand - and drag it in the direction you need.

As soon as everything is ready, press the Print button to start the process.