Extracting Images
AVS Document Converter allows you to extract images from the files loaded into the program. The images will be exported to the specified folder from all opened documents which contain pictures. They will be saved in their original format, size and quality. The original names will also be kept.
 Note
Note: if an extracted image has no name, it will be automatically renamed to "xxxx.ext" (for example,
0001.bmp,
0002.bmp).

Open a document clicking the Add Files button on the Top Toolbar or using the Open Document button on the Tab Toolbar and browse for the necessary file.
Click the black arrow next to the Extract Images section of the Working Area to open this section or double-click the section header.
 Note
Note: this section is available for all supported types of text files, except
.txt format. See a full list of supported formats on the
Converting Documents page.
Select a folder on your hard drive where you want to store the extracted images using the Destination folder drop-down list. You can create a new folder to put the image files in. When you extract images from several documents at once the new folder will be created within the destination folder and will have the same name as the text file where you extract images from. It helps you organize the extracted files and easily manage them later.
When everything is ready, click the Extract Images button.
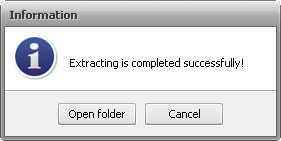
In a few seconds, you will see the message informing you that the extracting process was completed successfully:

Click the Open folder button to open the destination folder to see and process the images according to your needs or use the Cancel button to close this window and continue working with AVS Document Converter.