Adding Images
You can add an image to your created disc label or box cover. It will serve as a background or as a part of the disc label or box cover. To do it you should open the Edit Tab of the Ribbon Command Bar and press the Add Image button within the General Tools group:
 Add Image - Use this button to add an image to your created project. After that a rectangle containing the added image will be seen within the created label or cover.
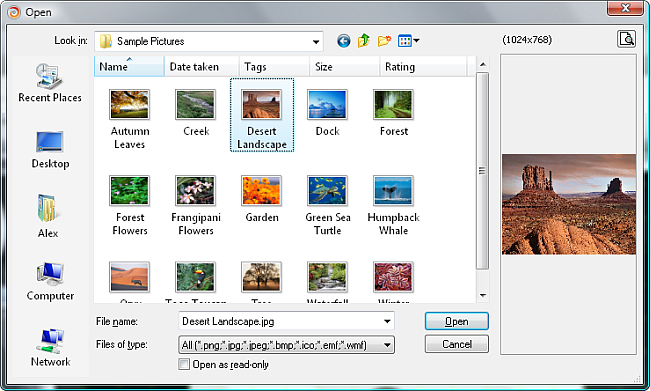
The following window will open to let you select an image in one of the graphic formats in the Thumbnails folder. You can also select an image from any folder present on your computer hard disk drive:


 After the image is selected, you can change the picture size in the Editing Area, Constrain and Restore Proportions of it, select its Opacity or choose some other image to replace the current one, clicking the Select Image button.
You can also rotate the loaded image, if you direct the mouse cursor to the green circle - it will turn into a round arrow - and move the cursor in the direction you want.
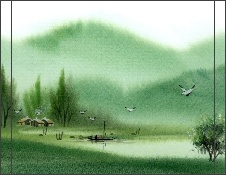
Here is how an image will look like on your disc box back cover:

The same way an image can be placed on a disc label or disc box front cover.