Correcting Images
Before converting your images into another format you can also make some simple color, tone or contrast adjustments and add effects or texture to them. To do that switch to the Corrections tab of the Working Area.
 Note
Note: the selected correction will be applied to
ALL the imported images.
brightness
Is used to adjust the relative lightness or darkness of the color, i.e. the tonal range of an image. You can adjust the brightness level manually by dragging the indicator of the appropriate slider or entering a value into the box next to it or automatically by clicking the Auto brightness button. To reset the original value use the Reset to Default button.
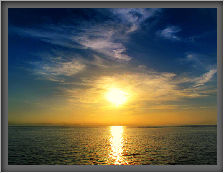
Before applying the brightness effect
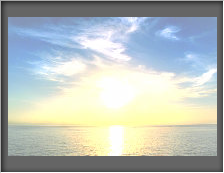
After applying the brightness effect
contrast
Is used to correct the difference in visual properties that makes an object in an image distinguishable from other objects and the background. You can adjust the contrast level manually by dragging the indicator of the appropriate slider or entering a value into the box next to it or automatically by clicking the Auto contrast button. To reset the original value use the Reset to Default button.
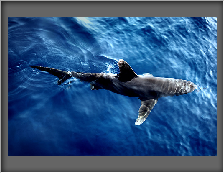
Before applying the contrast effect

After applying the contrast effect
temperature
Is used to adjust your images to warm or cold colors. You can adjust them manually by dragging the indicator of the appropriate slider or entering a value into the box next to it or automatically by clicking the Auto temperature button. To reset the original value use the Reset to Default button.
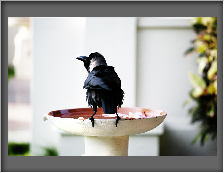
Before applying the temperature effect

After applying the temperature effect
The current version of AVS Image Converter allows you to correct brightness, contrast and temperature of your images at once clicking the Auto Corrections button situated on the top of the Working Area.
Blur/sharpen
Is used to reduce (Blur) or increase (sharpen) contrast between adjacent pixels by lightening or darkening pixels next to well-defined or blurry edges and shadows, visually smoothing and softening or sharpening the image. You can do that by dragging the indicator of the appropriate slider or entering a value into the box next to it. To reset the original value use the Reset to Default button.
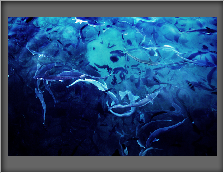
Before applying the Blur/sharpen effect
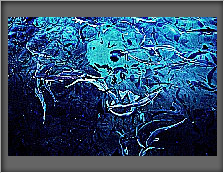
After applying the Blur/sharpen effect
effects
Is used to imitate faded photos and yellowish photo paper (Sepia), to give your images a classic look of black and white photos maintaining its sharpness and contrast (Black and White), to invert colors of the picture to their opposite value in the color spectrum making it look like a negative (Positive/Negative) or to create a sterescopic 3D effect when viewing the image using glasses with red/blue lenses (Anaglyph 3D).
To apply one of the available effects use the Effect drop-down list. If you do not want apply any effects select the Original Photo option.
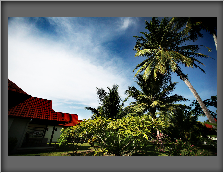
Before applying effects
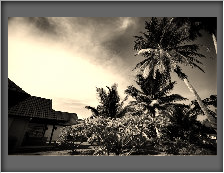
After applying the Sepia effect
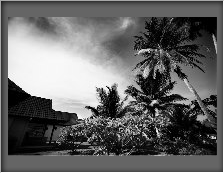
After applying the Black and White effect
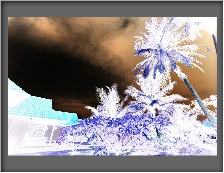
After applying the Positive/Negative effect
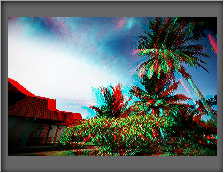
After applying the Anaglyph 3D effect
texture
Is used to add texture to your images giving it extra detail. Select one of the available masks from the Mask drop-down list.
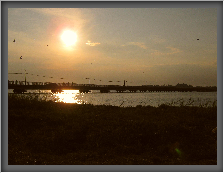
Before adding texture

After adding texture
Using the texture together with one of the available effects allows you to turn your new photos into old images adding noise, dust and scratches.
To restore the original photos use the Reset All Corrections button on the top of the Working Area.