Working with AVS Photo Editor
Working with AVS Photo Editor is very easy, as you don't need to open additional windows to perform a certain editing task - everything is displayed and can be done within the only Program Window. The procedure is the following:
Add a folder with images to the program
Add images using one of the available methods described in the Adding and Previewing Photos chapter. See the full list of supported image file formats.
Perform quick editing operations
After selecting a folder all the image files from it will be displayed in the Preview Area as thumbnails. Rotate selected images in the direction you want, apply auto-correction to them.

Edit the selected photo accurately
Double-click an image and it will fill the complete Preview Area, the Edit Tab will open. Adjust the needed zoom level. Correct the whole image or only a part of it, remove the red-eye effect, clone a selection, crop your image, add a vignette or watermark. You can also apply one of the available ready presets.

Compare the edited photo before and after editing
Press the After|Before button to see the changes in comparison with the original photo.
Save adjustments as a preset
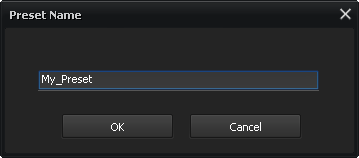
Open the Presets section of the Adjustment Menu and click the Save Adjustments as Preset button. Enter a title for your preset in the opened window and click the OK button. The new preset will appear in the list for you to use it in the future.

Print the edited photo
Switch to the Print Tab, adjust the print settings and print your photo.
Save edited images
Save images using one of the available methods described on the Saving Edited Photos page.