Using AVS Video Burner
To burn your video files to a disc using AVS Video Burner, follow the easy steps below:
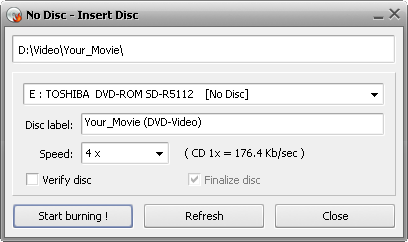
Selecting the needed disc drive
If you have several drives in your system, select the one you need in the appropriate dropdown list by clicking the black arrow next to the current disc drive name. If you can't find the necessary disc drive, press the Refresh button situated below.
Then insert an optical disc into the disc drive you've selected and verify its status. The utility informs you if this disc is closed, empty or not empty.
 Note
Note: if the inserted disc is not empty, all existing data will be erased from it during the burning process.
Setting available parameters
| Disc Label |
In this field the disc name is indicated and corresponds to the name of the folder you sent to AVS Video Burner. You can easily change the disc label by typing in another name. |
| Speed |
You can also set the burning speed value clicking the black arrow in the Speed dropdown list. Note that available values depend on the disc type you use. |
| Verify Disc |
Check this box to get the burned data verified after the burning process is over to make sure the disc was recorded without any errors. |
| Finalize Disc |
If you check this box, you will not be able to add any data to the disc. If you want to record a multisession disc, leave this box unchecked. In case you are going to record DVD/Blu-ray video, the Finalize Disc box will be disabled and no change of this setting will be possible. That is done to ensure compatibility with the hardware DVD/BD players. |
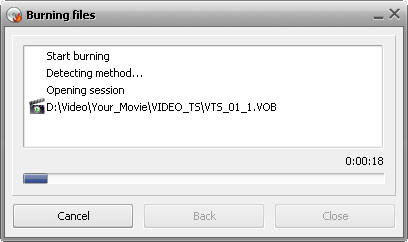
Burning your files
Click the Start Burning! button to record your CD/DVD/BD disc.
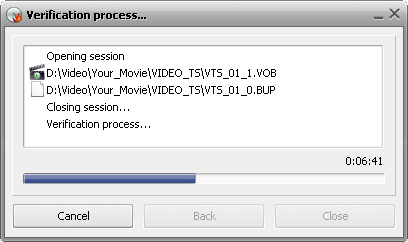
If you checked the Verify Disc box, the recording will take a little longer depending on the size of the output files, as the utility needs some time to verify them.
After the process is over the disc will be ejected automatically and you will see the verification result.
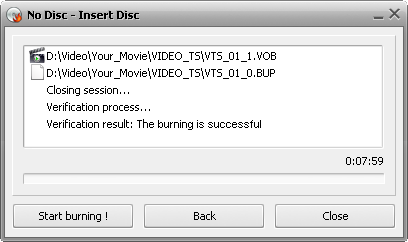
If you'd like to create several discs with the same content, insert another disc into the drive and press the Start Burning! button once again.
You can also return to the main window to change some burning settings by clicking the Back button. To exit the AVS Video Burner utility press the Close button.