Printing and Saving as Images
 After the images for your disc label and box cover are ready, you can print them using a printer. To do that click the Print button on the Home Tab of the Ribbon Command Bar, select the Print Project item in the Quick Access Toolbar or use the Print option of the Application Button menu. The following window will open:
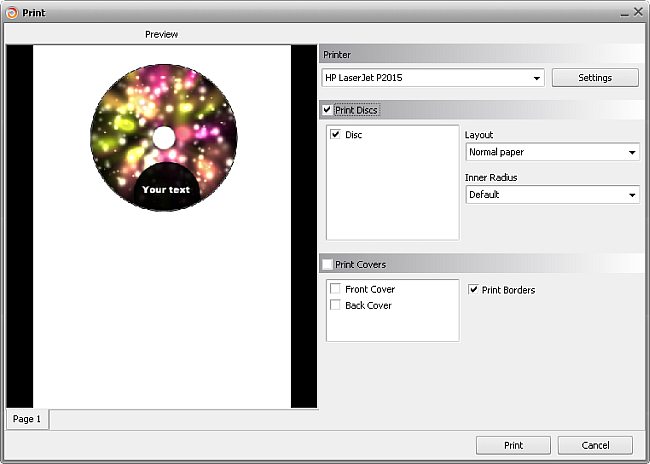
You can select here:
Printer - select the printer from the list of available ones. If you have only one printer connected to your personal computer, it will be selected by default. Otherwise, the printer marked as default by your system will be selected until you choose some other one.
Print Discs - you can select to print the created disc label or not.
Print Covers - you can select to print all the created covers or only one of them - the box Front or Back Cover. The amount of covers displayed depends on the project type you selected while creating the project.
After you select the necessary settings, you can click the Print button to start printing the images or Cancel to close this window.
 However, if you do not plan to print the result right now or have not got an available printer at the moment, you can save your resulting covers and labels as images. Select the Export Images item in the Application Button menu to open the following dialog window:
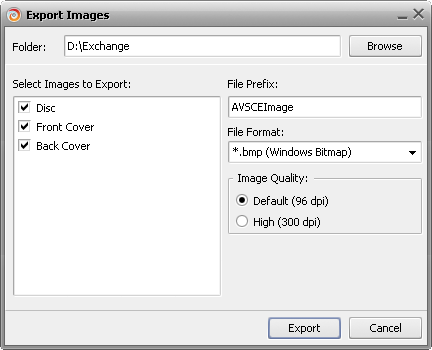
Here you can choose:
Folder to save the resulting images. The My Documents folder on your computer will be chosen by default. Click the Browse button to find a specific folder on your computer hard disk drive.
Select Images to Export - you can select to export all the created labels and covers or only some of them - a Disc label, a box Front or Back Cover. The amount of covers displayed depends on the project type you selected while creating the project.
File Prefix - the title that the images will be saved with.
File Format - the image file format selected from the list. You can use most of the currently known formats - *.bmp, *.jpg, *.tga and *.png.
Image Quality - the output resolution of the images that will be exported. The following options are available: default (96 dots per inch) and high (300 dots per inch).
After you select the necessary settings, you can click the Export button to save the images or Cancel to close this window.