Resizing Images
AVS Image Converter allows you to resize a bunch of digital pictures before conversion.
The program offers a number of presets which can be used to fit your images to most popular printing formats or to an avatar size, to send them via e-mail or post them on the web sites.
To use one of the available presets switch to the Conversion tab and select the desired one from the Preset drop-down list in the Resize section.
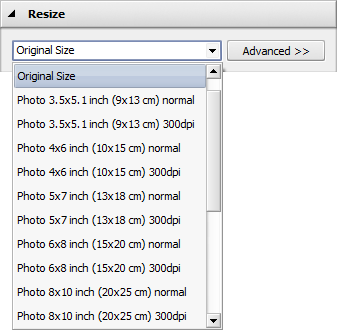
If you need to fit your images to a particular size you can create your custom preset. Click the Advanced >> button near the Preset field. In the opened Resize panel open the drop-down list and choose one of the following options:
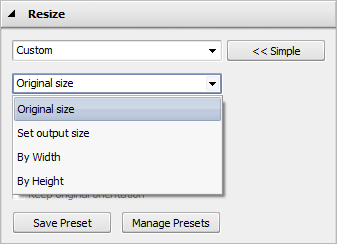
- Original Size — select this option to preserve your original image file size.
- Set output size — select this option to adjust your images according to the specified width and height. Enter the necessary values in the boxes below this field using the arrow buttons or the keyboard.
- By Width — select this option to adjust your images according to the specified width. Set the necessary Width value in the box below this field using the arrow buttons or the keyboard.
- By Height - select this option to adjust your images according to the specified height. Set the necessary Height value in the box below this field using the arrow buttons or the keyboard.
When you change the height and width values manually the image proportions can get affected. Some image areas might be cut out and lost. To avoid this make sure the following options are checked:
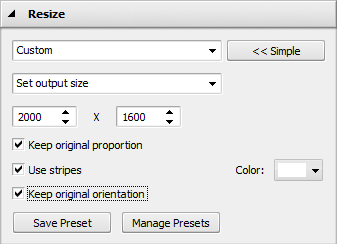
The Keep original proportion box selected by default allows you to keep the original image aspect. In this case the output image width and height may differ from the values set in the Resize section. The output image parameters are displayed at the bottom of the image within the Preview Area if the Show Output File Info option is checked in the View section of the Main Menu.
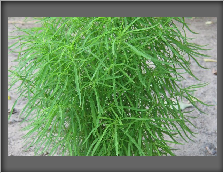
Image resized
without keeping the original proportion
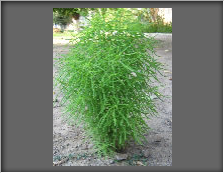
Image resized
keeping the original proportion
In case you need to get the file of a particular size keeping the original image aspect you can add the stripes checking the corresponding box and selecting the necessary Color.
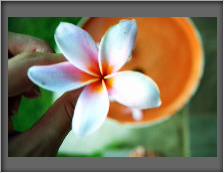
Resized image without stripes
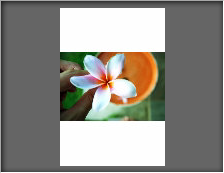
Resized image with stripes
The Keep original orientation box allows you to keep the original "landscape" or "portrait" orientation of your images while resizing. When this option is selected the long side of the picture will be resized according to the largest value for width/height, and the short side will be resized according to the smallest value.
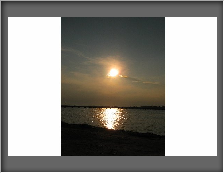
'Portrait' image resized
without keeping the original orientation

'Portrait' image resized
keeping the original orientation
The newly created preset will be applied to one particular conversion only. If you want to use it in future you can save it as a preset. Click the Save Preset button and insert the Preset Name in the opened window:

Click the OK button. The new created preset will be displayed in the Preset list and can be used any time.
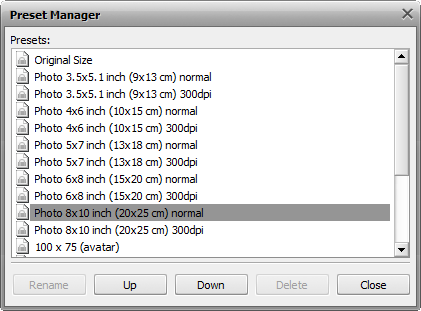
If you want to modify this list click the Manage Presets button to open the Presets Manager window. Here you can rename the created preset, remove the unnecessary one and move it up/down selecting it with the mouse and using the corresponding buttons at the bottom of the window.
