Using AVS Video Uploader
To upload your video files to one of the popular video-sharing websites using AVS Video Uploader, follow the easy steps below:
Selecting the needed video-sharing website
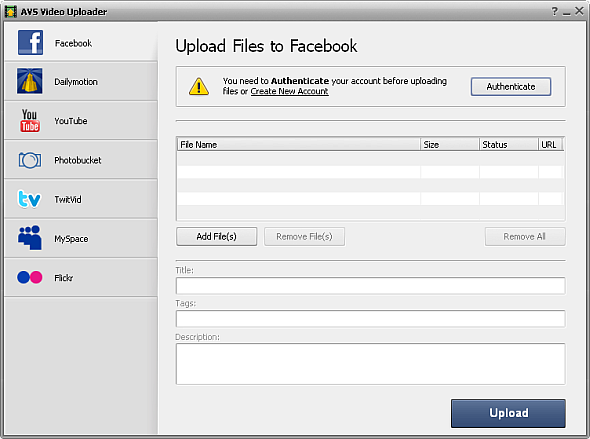
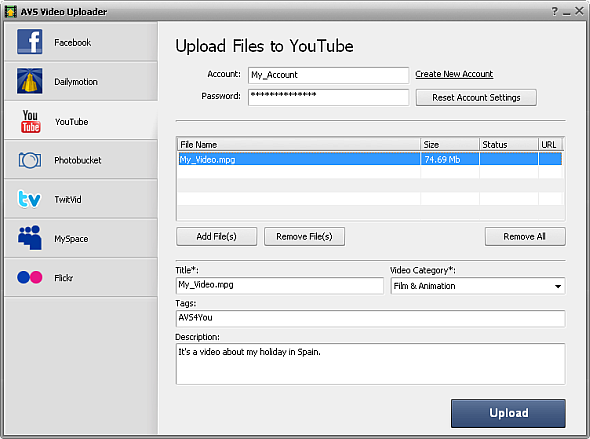
First of all select the website you want to upload your video file(s) to by clicking the appropriate button on the panel situated on the left. The following options are available: Facebook, Dailymotion, YouTube, Photobucket, TwitVid, MySpace, Flickr.

Depending on the selected video-sharing website perform one of the following operations:

Facebook

Photobucket

MySpace

Flickr
|
To confirm your existing account, click the Authenticate button in the right upper corner of the utility window. The index page of the selected video-sharing website will automatically open where you need to sign in. After that minimize the browser window and you will see the following notification:

Click the Ready button if you signed in successfully and proceed to the next step.
|
If you have no registration at the selected website, click the Create New Account link. After that the index page of the selected video-sharing website will automatically open where you can register and create an account. Then authenticate your account. |

Dailymotion

YouTube

TwitVid
|
If you already have an account at the selected video-sharing website, enter your login and password into the appropriate fields. You can clear both fields by clicking the Reset Account Settings button.

|
If you have no registration at the selected website, click the Create New Account link. After that the index page of the selected video-sharing website will automatically open where you can register and create an account. Then enter your account and password into the appropriate fields. |
Adding the needed video files
Usually the files for uploading are already loaded to AVS Video Uploader, but you can still change the list of files by selecting some other video files that you would also like to upload to the website or removing them.

 |
Used to select one or several video file(s) to be uploaded to the selected website and add them to the list. |
 |
Used to remove the selected video file(s) from the list of the files that you would like to upload to the selected website. |
 |
Used to remove all the video files from the list of the files that you would like to upload to the selected website. |
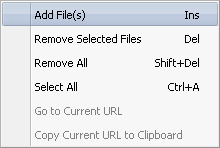
You can also use the Express Menu for this purpose. It can be accessed by right-clicking the video file added to AVS Video Uploader. The following options are available:

- Add File(s) - use it to add file(s) to the utility.
- Remove Selected Files - use it to remove the selected files from the list.
- Remove All - use it to remove all added files from the list.
- Select All - use it to select all added files.
- Go to Current URL - use it to open a page with your uploaded video in the default browser (will be enabled after uploading).
- Copy Current URL to Clipboard - use it to copy the URL of the selected video file to clipboard (will be enabled after uploading).
As soon as you are satisfied with the list of video files you want to upload, you can change their title, select video category if available, add tags to each video and description of its content in the appropriate fields.

Note: some of the fields are marked with an asterisk. It means they are obligatory and must be filled in.
Uploading your files
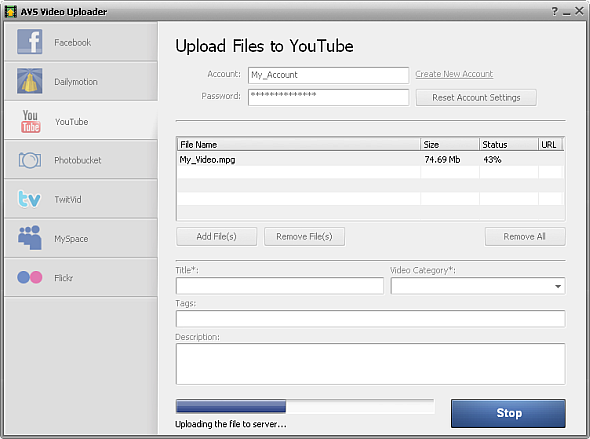
As soon as you are satisfied with the list of the video files that you would like to send to the selected video-sharing website, press the Upload button to start the uploading process.

The duration of the uploading process depends on the number of video files selected, their size and the Internet connection.
As soon as the process is completed, the following window will pop up:

After clicking the OK button you will see the Complete caption in the Status field. If you click URL, a web page with your video will be opened in your default browser, where you can watch the uploaded video file.
