Preview Area
The Preview Area is the central part of the AVS Photo Editor window and is used to view your photos and work on them by applying the editing tools offered in the program. The Preview Area can look different depending on the tab opened:
Preview Area with the Browse Tab Opened
After opening the Browse Tab and selecting the folder containing the photos you want to edit, you will see thumbnails of these image files. You can switch to this view mode also by selecting the Browse option of the View section in the Main Menu.
In this view mode you can quickly navigate through the content of the selected folder, perform automatical correction of images by clicking the Auto Correct button and rotate them to the left or right using the arrow buttons.
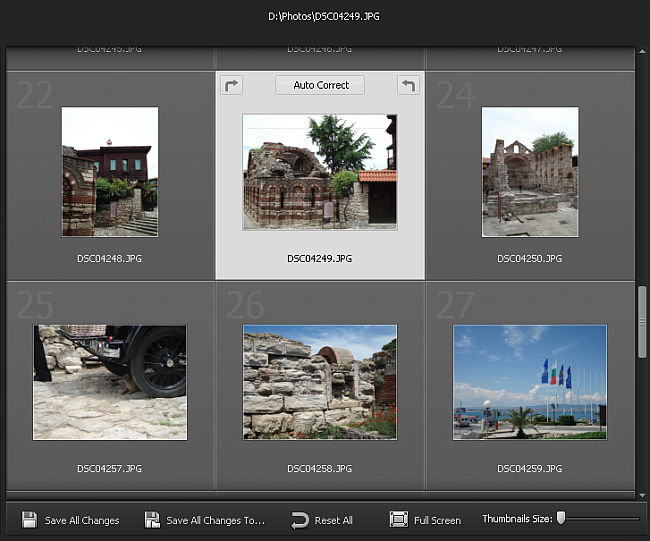
At the top of the Preview Area the whole path to the currently selected image file is displayed, whereas at its bottom the toolbar is situated that comprises the following buttons:
 |
Is used to save the changes made to all images from the current folder. |
 |
Is used to save the edited images from the current folder into another folder. |
 |
Is used to revert all the changes made to all images from the current folder. |
 |
Is used to switch to the Full Screen view mode when an image occupies the entire screen. |
 |
Is used to change the size of thumbnails that represent the image files shown in the Preview Area. By moving the indicator along the slider you can set the size you need. |
By double-clicking a photo from the Preview Area the Edit Tab will be opened and the view mode will be changed.
[
Back to Top]
Preview Area with the Edit Tab Opened
After opening the Edit Tab or selecting the Edit option of the View section in the Main Menu the Preview Area looks like in the figure given below. You can also switch to this view mode by double-clicking the corresponding thumbnail.
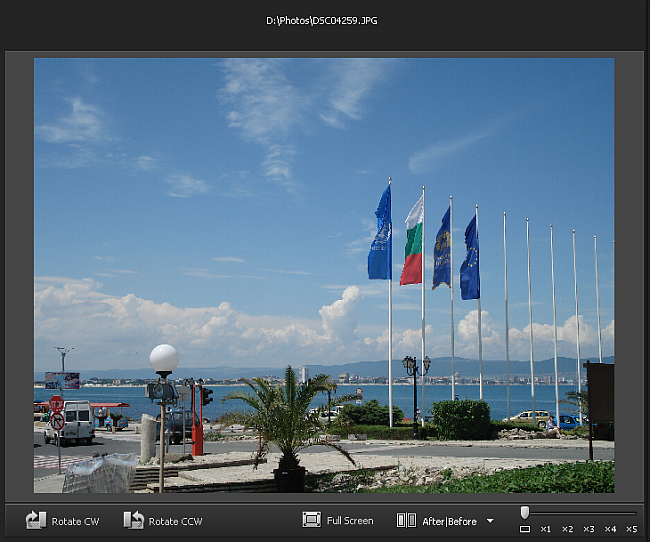
At the top of the Preview Area the whole path to the displayed image file is displayed, whereas at its bottom the toolbar is situated that comprises the following buttons:
 |
Is used to change the imported photo orientation (portrait to landscape and vice versa). |
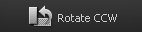 |
Is used to change the imported photo orientation (portrait to landscape and vice versa). |
|
Is used to switch to the Full Screen view mode when an image occupies the entire screen. |
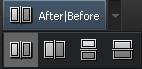 |
Is used to split the Preview Area into two parts that will display the original and the image after performing some editing operations. By clicking the arrow beside it you can select one of the available split modes. |
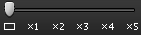 |
Is used to change the zoom level of the image displayed in the Preview Area. By moving the indicator along the slider you can set the zoom level you need: one on screen, full size, 200%, 300%, 400%, 500%. |
By double-clicking a photo from the Preview Area the view mode will be switched to the Full Screen.
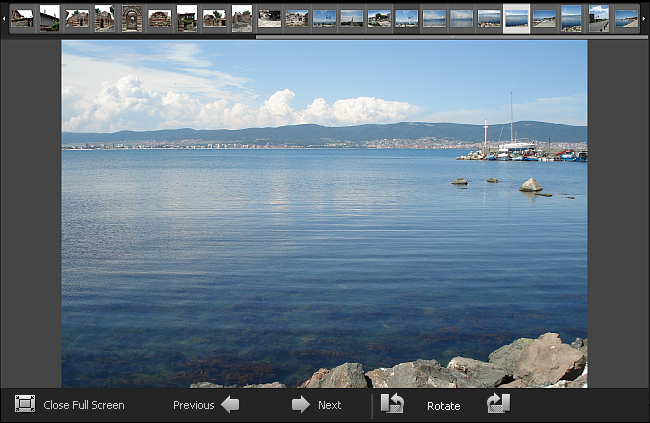
Full Screen
You can switch to this view mode by clicking the Full Screen button at the Toolbar, selecting the corresponding option of the View section in the Main Menu, or double-clicking the image edited in the Preview Area with the left mouse button.
In this view mode the edited image will occupy the whole screen area. If you direct the mouse cursor to its upper part, the Navigation Panel will appear for you to navigate through the images of the loaded folder and to find the one you need. If you direct the mouse cursor to the bottom of the screen, you'll see the following buttons:
 |
Is used to return from Full Screen to the view mode, when one image is shown within the Preview Area. |
 |
Is used to view the previous photo displayed in the Navigation Panel. |
 |
Is used to view the next photo displayed in the Navigation Panel. |
|
Is used to change the imported photo orientation (portrait to landscape and vice versa). |
|
Is used to change the imported photo orientation (portrait to landscape and vice versa). |
To return to the program window, double-click the left mouse button, use the Close Full Screen button situated at the bottom of the screen, or press the Esc key.
[
Back to Top]
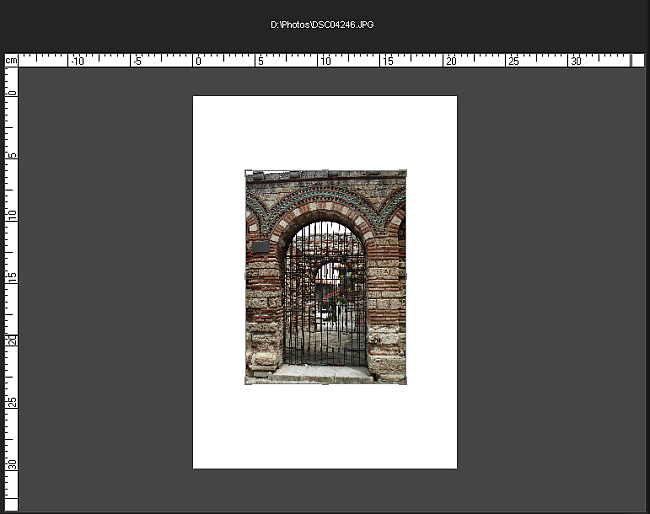
Preview Area with the Print Tab Opened
You can switch to this view mode by opening the Print Tab or selecting the Print option of the View section in the Main Menu.
In this view mode the edited image will occupy a certain area on a sheet of paper. At the top and on the left side of the Preview Area special rules with cm gradation are situated to help you place the image within this sheet.
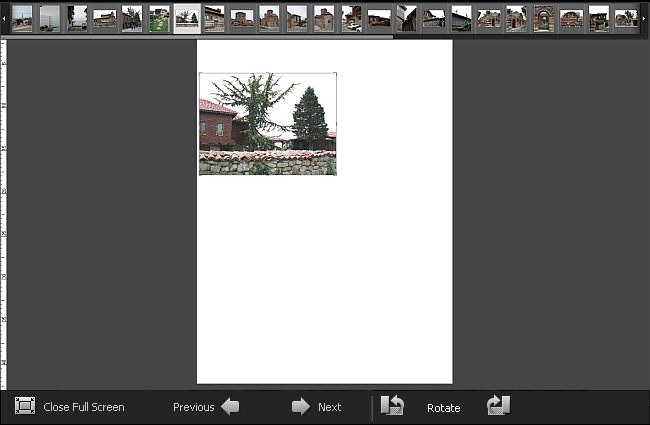
In this case the Preview Area also has the Full Screen mode.
Full Screen
You can switch to this view mode by double-clicking the image within the Preview Area when the Print Tab is opened.
In this view mode the edited image will occupy the whole screen area. If you direct the mouse cursor to its upper part, the Navigation Panel will appear for you to navigate through the images of the loaded folder and to find the one you need. If you direct the mouse cursor to the bottom of the screen, you'll see the same buttons as in the Full Screen view mode when the Edit Tab is opened.
To exit the Full Screen mode double-click the left mouse button or press the Esc key.
[
Back to Top]