Changing Project Settings
Before starting work at your project you can set the aspect ratio used for your output video. The aspect ratio of an image is its displayed width divided by its height (usually expressed as "x:y"). You can read more detailed information on the aspect ratio here. In everyday life you will not need all the theoretical knowledge on the aspect ration and its details.
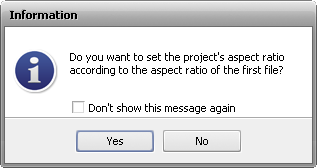
When you start a new project and place an image or video file to the Timeline you'll be asked if you'd like to keep the aspect ratio of the file for the whole project.

If you want to change the project's aspect ratio, we'd recommend that you use the following simple rules while choosing the necessary aspect for your output video.
To set the aspect ratio values use the Aspect Ratio option of the Edit section of the Top Menu and select one of the options:
- 4 x 3 - select this option in case you plan to watch your output video on a common CRT-display or CRT-television set that has the proportions of the width and height 4:3 (it looks almost square, in fact, its screen width being slightly longer than height).
- 16 x 9 - select this option in case you plan to watch your output video on a wide-screen LCD or plasma display or TV-set that has the proportions of the width and height 16:9 (you can for sure distinguish it from that with the 4:3 aspect as it is quite elongated horizontally, its width being almost twice the size of its length).
 Note
Note: in case you import 4:3 video files and then choose the 16:9 aspect ratio the black bars (mattes) will be added by the sides of the output video to preserve the image size and prevent distortions. See the
Using Crop Scale section to find out how to save video with an aspect ratio different from that of the imported files without mattes adding.
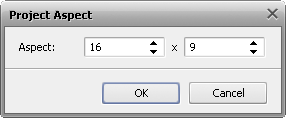
- Custom... - select this option in case you plan to set other values. The Project Aspect window will open:

Enter the width and height values to the corresponding fields using up and down arrows or your keyboard. Then click the OK button to accept changes or use the Cancel button to close the window without saving any changes.