Importing Multimedia Files
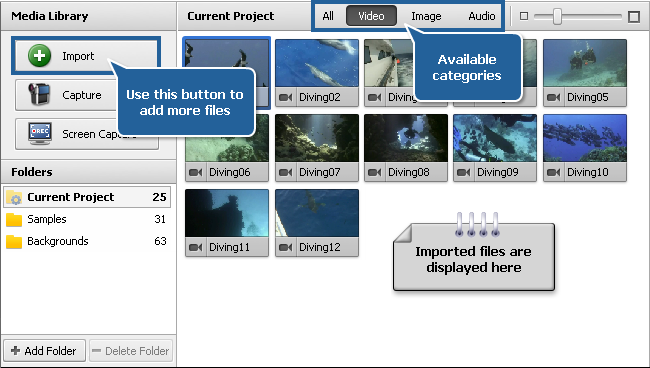
 Before you can begin editing your video, you need to make your files available to AVS Video Editor. This means, that you will need to import your video, audio and image files from your computer hard disk drive into the program. First click the Media Library button among the central buttons and then the Import button on the left side menu of the Files and Effects Area. The same can be done using the Import Media option of the File section of the Top Menu.
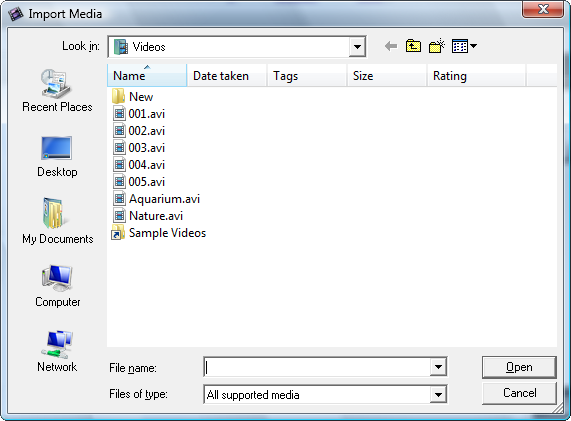
The Import Media window will be opened:

Select the necessary media files and click the Open button. The selected files will be added to the Media Library into the appropriate category - Video, Audio or Image. Switch between the categories to see all the files available in it.

When you import large video files (with high definition quality), the caching process will run automatically. This option allows you to accelerate processing of HD files. To disable this option, open the Environment tab of the program Settings window.

After that you can either import more media files or preview the imported media files, trim or cut them into scenes before you place them to the Timeline/Storyboard Area.