Using Trim Option
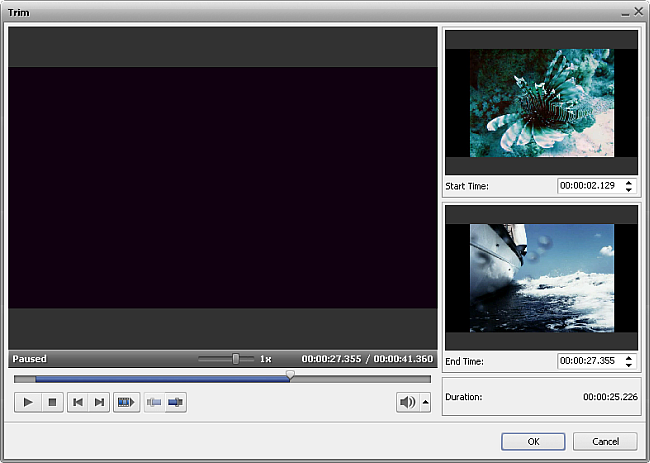
The Trim option is quite useful when you need to cut out some video from the beginning or the end of the video clip, or both from the beginning and the end of the clip. Open the Trim window.

The window buttons are used the following way:
 |
Playback |
Is used to start video file playback. Once you click it, it will turn into the Pause button to let you pause the playback when needed. |
 |
Stop |
Is used to stop video file playback. Every time you use it to stop the playback, the cursor goes back to the beginning of the file. |
 |
Frame Back |
Is used to step one frame back in the video. |
 |
Frame Forward |
Is used to step one frame forward in the video. |
 |
Next Scene |
Is used to find the next scene in the video clip. Once you click it, it will turn into the Stop button to let you stop searching scenes when needed. |
 |
Mark Start |
Is used to mark the beginning of the trimmed area. All the video to the left of this area will be deleted. |
 |
Mark End |
Is used to mark the end of the trimmed area. All the video to the right of this area will be deleted. |
You will need to place the slider cursor to the place where you want your video to begin. Do it using the mouse button. You can find the exact position in the video either using the Frame Back or Frame Forward button or using the time fields of the Start Time and End Time areas in the right part of the Trim window. The total duration of the trimmed video will be shown under the Duration caption.
Click the Mark Start button to mark the beginning of the video (all the video to the left of the cursor will be deleted) and the Mark End button to designate the end of the trimmed video (all the video to the right of the cursor will be deleted as well) - so only the video within the highlighted area will be left.
To accept the changes click the OK button, to discard the changes and close the Trim window use the Cancel button.